One with the hub
 Or Dave's Final Installment
on How He Learned to Stop Worrying and Love the Sturmey-Archer 3speed Hub
 Okay, two weekends back I tackled the Sturmey Archer internal 3-speed hub. It was the last hurdle to total bike repair freedom. These babies were an engineering marvel and are low maintenance and perfect for urban bikers.
 Many mechanics won’t touch ‘em because they explode with pieces flying when taken out of the hub, including 4 springs so small and fine that one can’t find ‘em easily (finer than a hair). This entry is about my journey into the hub. Patented in 1936, the Sturmey Archer AW was a staple in bikes for the next 30 years. Mine was dated 1962 on my Schwinn Traveler.
I did a websearch on Sturmey Archer and came up with a few sites describing them and manuals on repair. I don’t know a pawl from an indicator chain, so text descriptions didn’t really help except when I had a list of the parts and an exploded diagram.
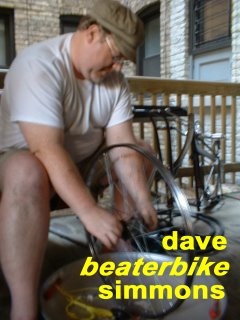
 Secondly, I knew that 50-odd pieces would go flying once I took it apart. A golden alley-found snow saucer was perfect for wheel hub surgery. I also put down a bedsheet on my deck floor so I could find various bearings, springs, pawls, and other technical sounding things.
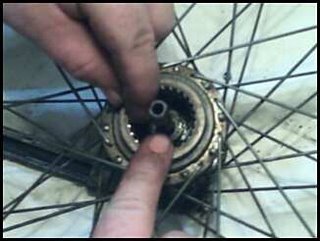
Yep, it exploded. I shot for simple take apart, clean with WD40 and lightly oil (3 in 1 oil works best) after reassembled. I had a box for all the parts and did an inventory against a parts list as I took it apart.
 The pawl springs were the trickiest until I found a document showing how to hold the pawl and spring. For reassembly, I did it on a pillowcase on my dining room table, (better light, and steady surface). I cleaned the grime from each part and greased the axle bearing cups. Do each part in stages and move slowly.
 Patience is all it takes…that and a steady hand when reassembling. I ended up getting a spare hub (for parts from workingbikes.org - $3). I stopped for many breaks and managed to get it all back together, put on the tire and tube, 3-1 oil (a few drops are all you need) within a few hours. No wonder the mechanics don’t want to take this one. It’s a timesink, but now I know better how to fix something that transcends many bike repair shops abilities. Okay, it’s a headrush.
 Why put myself thru this mess? I probably should have put this at the beginning. The Sturmey-Archer 3-speed only need oiling occasionally, and has the easiest shifting in urban settings. You can shift while waiting at a light rather than more modern derailleurs which require constant pedaling to shift. Beaterbikers like the SA hub because it’s low-maintenance, self-sustaining, long-lasting, and simple to use. Surgery is a one in 20 year event, but it sure is nice to simplify my understanding of the hub.
[note: photo of the Guadalupe Virgin bike provided by Timothé]
Labels: history, that which rolls, velopunk


1 Comments:
Thanks a lot for this article and all the attached links. I think I now feel confident to service my 23 year old SA AW hub :-) All the best, Casper
Post a Comment
<< Home